As a responsible driver, understanding the basics of brake maintenance is crucial for you. However, there are instances when standard brake repair knowledge might not be enough.
In this blog, we will discuss advanced brake repair techniques. This will help you maintain optimal braking performance and safety. It’s time to go beyond the ordinary for a safer ride.
Brake Fluid Flush and Replacement
Over time, brake fluid tends to accumulate moisture. This can cause damage to the brake system due to lack of effectiveness. Therefore, it is critical to incorporate brake fluid maintenance into routine. Otherwise, it could compromise both the safety and the lifespan of the braking components.
Moisture accumulation in brake fluid brings about several concerns. Firstly, it lowers the fluid’s boiling point. This is a critical factor during intense braking. Boiling can introduce air bubbles into the system. This leads to a spongy pedal feel and a reduction in stopping power. Secondly, moisture promotes corrosion within the brake system. This causes damage to vital components like the master cylinder and brake calipers.
You should take proactive steps to address these issues through a brake fluid flush. This process involves replacing the old fluid with fresh, clean fluid. Performing a brake fluid flush requires three simple steps:
- Lift the vehicle
- Locate the reservoir
- Bleed the brake line
This ensures the optimal performance and longevity of the braking system.
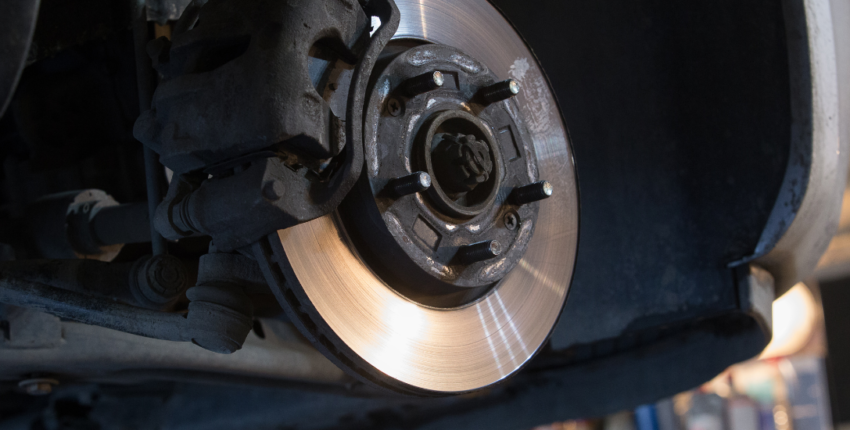
Rotor Resurfacing
Over time, the wear and tear on brake rotors can cause uneven surfaces. Rather than opting for an immediate replacement, you should resurface the rotors. This technique restores a smooth and even braking surface. It is also a cost-effective option.
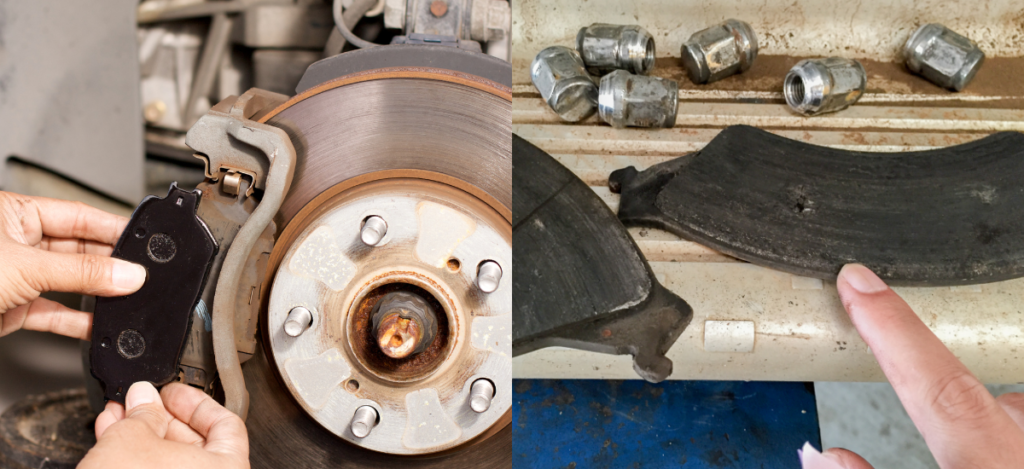
You should pay attention to indicators of uneven wear to detect the need for rotor resurfacing. One common sign is pulsations or vibrations felt through the brake pedal during braking. This indicates irregularities in the rotor surface affecting the braking performance. Additionally, squeaking or squealing noises during braking suggest uneven rotor wear.
Visual inspection is also crucial – are you observing grooves or scoring on the rotor surface? If yes, it’s a clear indication that resurfacing is necessary. Identifying these signs early on leads to timely intervention. This prevents further damage to the braking system.
Performing rotor resurfacing as a do-it-yourself (DIY) task requires a systematic approach. Follow these steps to ensure successful rotor resurfacing:
- Lift the vehicle and remove the wheels to access the brake components.
- Inspect the rotor surface for any irregularities, focusing on the depth of grooves or scoring.
- Use a brake lathe to gradually remove a thin layer from the rotor surface, ensuring an even finish.
- Take care not to exceed the recommended minimum thickness for the rotor.
After resurfacing, thoroughly clean the rotors to remove any metal debris. Additionally, inspect and, if necessary, replace brake pads as well. This ensures a uniform wear pattern. Reassemble the brake components, reinstall the wheels, and lower the vehicle. Finally, perform a proper bedding-in process by gradually applying the brakes. This establishes an optimal contact between the new rotor surface and brake pads.
Caliper Rebuilding
Brake calipers may exhibit signs of wear or seize over time. This necessitates you to be familiar with the caliper rebuilding process. The common causes leading to caliper rebuilding include exposure to harsh weather, high mileage, or extended periods of inactivity.
You should recognize signs such as uneven brake pad wear, reduced braking efficiency, and abnormal noises during braking. Understanding these signs sets the stage for caliper rebuilding:
1. Caliper Removal:
Start by safely removing the caliper from the brake assembly. This creates a secure working environment for the rebuilding process.
2. Disassembly:
Systematically disassemble the caliper. You should note the order of components while doing so. This careful observation ensures a smooth reassembly process.
3. Thorough Cleaning:
Utilize brake cleaner to clean all disassembled parts. Make sure to remove accumulated dirt and brake dust for optimal performance.
4. Component Replacement:
Identify and replace worn-out seals, O-rings, and other compromised components. This restores the caliper’s integrity and prevents leaks.
5. Lubrication:
Before reassembly, apply lubricant to the caliper slide pins. This ensures smooth movement and reduces the risk of uneven brake pad wear.
Following these steps, the rebuilt caliper can undergo testing to ensure proper functionality. Conduct a comprehensive brake system test. You should check for signs of leaks and ensure even brake pad contact. Ultimately, verify the responsiveness of the entire braking system.
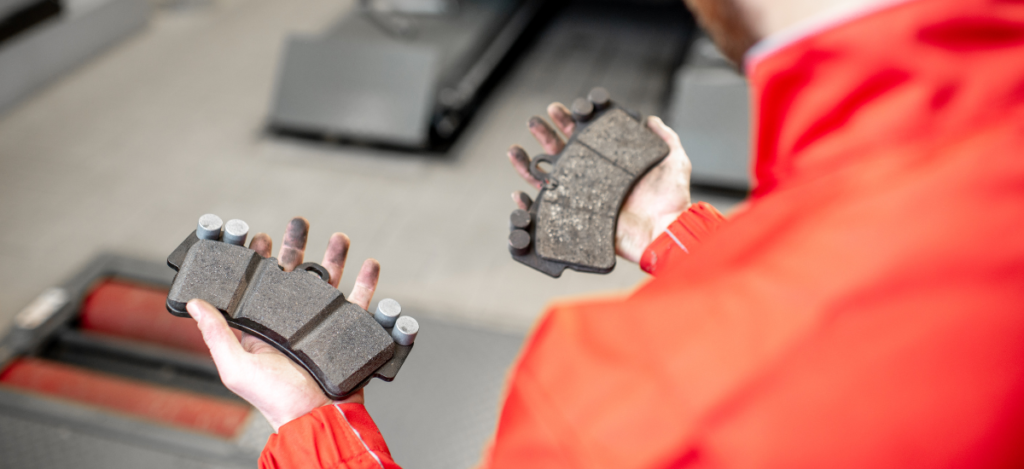
Upgrading Brake Pads and Rotors
Upgrading brake pads and rotors is critical to elevate your vehicle’s braking performance. The choice of materials depends on factors such as driving style, environmental conditions, and the intended vehicle use. You must grasp the distinctions among the available options.
When considering types of brake pads, you will encounter choices such as ceramic, semi-metallic, and drilled and slotted options. Ceramic brake pads are known for their smooth and quiet operation, low dust generation, and excellent heat dissipation. This makes them suitable for everyday driving. Semi-metallic pads, on the other hand, offer enhanced stopping power. This makes them suitable for high-performance applications. Drilled and slotted brake pads, often chosen for sports cars, aid in heat dissipation and prevent brake fade.
Rotors also come in various materials, and each type has its advantages. Cast iron rotors are standard and used for everyday driving. Carbon composite rotors offer reduced weight and enhanced heat dissipation. This makes them suitable for high-performance vehicles.
You should adhere to proper procedures while installing brake pads and rotors. We recommend you follow manufacturer guidelines and torque specifications during installation. Additionally, it is advisable to bed in the new brake pads and rotors properly. This allows them to adapt to each other for optimal performance and longevity.
Your Go-To Brake Repair Shop
Finding it hard to perform these complex techniques by yourself? You don’t need to get overwhelmed because we got it covered for you. We, at ASAP Automotive & Transmissions, specialize in auto repair services for various vehicle makes and models. Our experienced experts will ensure that your braking system works at optimal performance.
Moreover, we are equipped with the latest technology for auto-diagnostics. This ensures accurate diagnoses and repair of braking system issues. We will take care of your vehicle for you. In the meantime, you can enjoy our complimentary Wi-Fi and relax with coffee. Contact us today to book an appointment!